XSplit is a commercial broadcasting software that comes with a free limited software version and a premium one ($ 449). As a free user you are limited in video and audio quality, which is why we advise those who want stream themselves playing music to use Open Broadcaster Software instead. Those who want to stream art are free to use XSplit since the only important limitation is the fullscreen quality mode. Free users can use a resolution of up to 720p.
Getting started
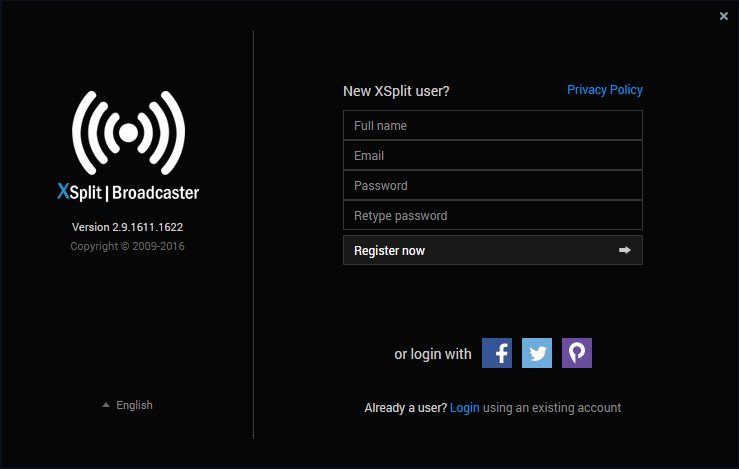
After you downloaded and installed XSplit please open it and register or log in:
Once you‘re done, you‘ll be led to the following screen:
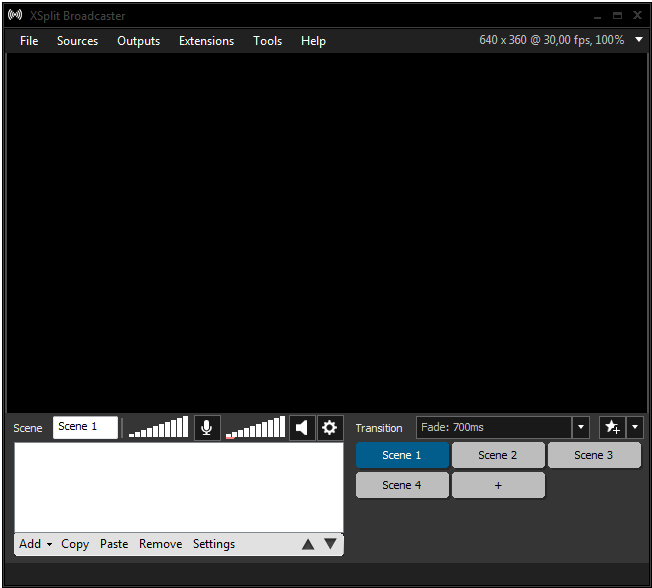
First of all, we need to take care of the source setup. The source is the content you want to stream on your channel. To set a source click on “Add” in the lower left corner and choose “Screen capture” for a custom resolution of a fixed area from your screen.
Since XSplit is primarily used to stream games, you can choose “Game capture”. In this option you can choose software like Photoshop etc, so only the content presented in Photoshop is visible in your livestream. Please keep in mind that some of the software might not be fully compatible with “Game capture”.
You can also add media files like images, videos, HTML etc. It’s useful to activate this source, if you’re taking a short break from streaming (so-called “BRB” mode) or you’re currently in gaming mode. You can use this option as an overlay. What you can also do is show GIF loops or private videos in a corner to make your stream more lively. We recommend to have at least one moving overlay for your viewers to see if your stream is still active or frozen.
Customize your broadcasted screen
If you select a source and click on “settings”, a popup opens and gives you options to customize your screen:

You can change the color, angle, contrast, saturation, form or brightness. We recommend you to do a test stream to try all of these options out.
Scenes & Transitions
You can also set different scenes to switch during a streaming session. Just click on “Scene x” and set another source. This way you can switch from Scene 1 -> Scene 2 with a smooth transition.
You can also decide what kind of transition should happen when you switch between scenes to make your stream look nicer.
General settings
If you click on the gear icon next to the volume bars you get the following window:
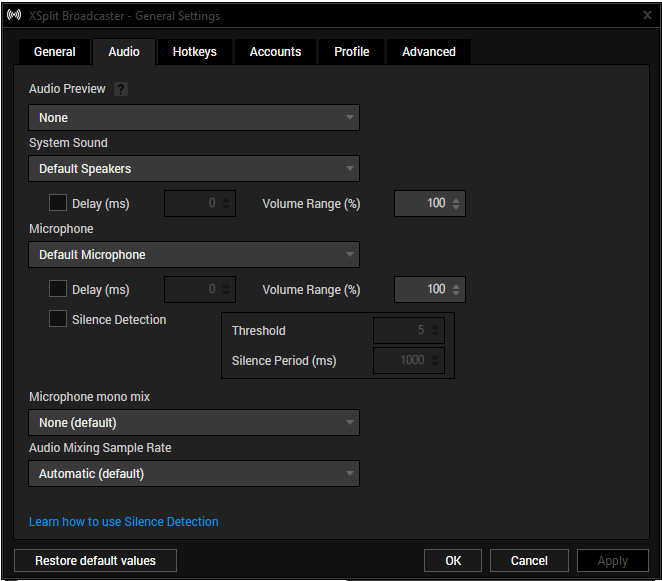
Here you can set sources for audio and microphone. Should your viewers not hear you or your computer sounds clearly, you might have to change these settings. Just go to the dropdown menu for “Microphone” or “System sound” and select the audio source you want people to hear. Please note that your stream is usually delayed by 5-15 seconds.
For the time being you can ignore the other tabs in the general settings window.
Connect your Picarto channel to XSplit
Now you’re almost ready to stream! We just need to connect your Xsplit to our server and channel. Go to the menu and click on “Output”. Go to “Set up a new output” and click on “Custom RTMP”. Now the following window should open:
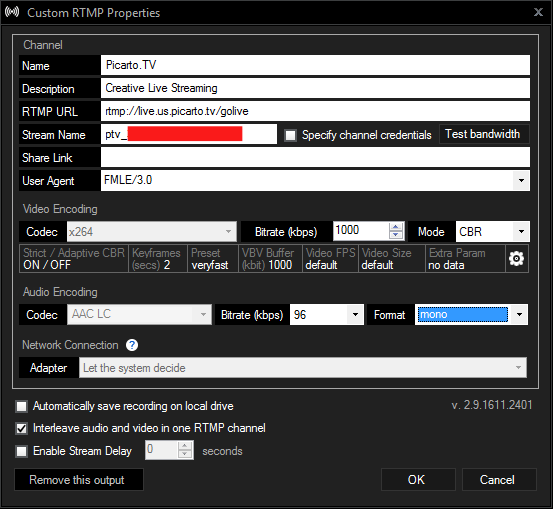
Now you need to type in your Picarto credentials for streaming. You can find these in our livestream setup tutorial by clicking on the “Go Live” button at the top right corner and follow the setup tutorial.

Last but not least you have to find the right settings for the quality of your livestream. It depends on how strong your computer and the speed of your internet connection is. We’ve put good overview together on what bitrate and keyframe interval you should use depending on your internet speed.
Your Upload
| Your Upload | Resolution | Bitrate in kbit/s | Keyframe intervall |
| under 1 Mbps | 480p | 350 – 500 | 4 |
| 1.5 Mbps – 5 Mbps | 720p -1080p | 500 – 800 | 2 |
| over 5 Mbps | 1080p – 4k | 1000 – 2000 | 1 |
You can set your keyframe interval and other quality options by clicking on the gear icon in the middle of the window. Please keep in mind that the maximum video size for free users is 1280x720px (recommended).
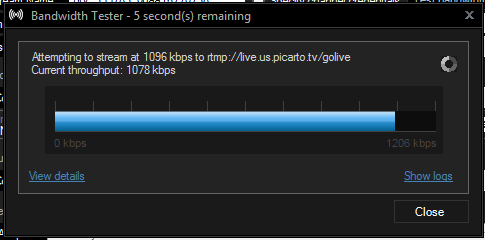
If you’re not sure about the settings, just click on “Test bandwidth”. A speed check will open and you can test if the bitrate you set is alright compared to your upload speed. Click on “View details” to find information about the test. If your dropped framerate is at 0%, you should be able to stream without issues.
Start a livestream
The last thing you have to do is to click on “Output” in the menu and select your configured “Custom RTMP”. Your broadcast will start as soon as you click on it. Remember that it will take a few seconds until your livestream is shown on your channel. Maybe you also need to refresh your channel page to see the livestream.


